
How to Program a Garage Door Opener in Massachusetts: The Pre-Programming Checklist Most Guides Skip
Programming a garage door opener starts with pressing the learn button on the motor unit until an LED light activates, then pressing the button on your remote within 30 seconds until the opener light flashes or you hear a click. If that doesn’t work, the opener’s memory is likely full, the remote uses incompatible coding, or the logic board has failed. In Massachusetts, where nor’easters knock out power and older homes in Worcester County to the Berkshires still run ungrounded garage circuits, we’ve found that three out of four “broken” openers we diagnose aren’t broken at all — they’re just clogged with years of phantom remote codes or paired with the wrong replacement remote. If you’re stuck, our Emergency Garage Door Opener in Massachusetts, MA team is available — call (833) 754-8144 and Larry will walk you through it over the phone, or come sort it out in person.
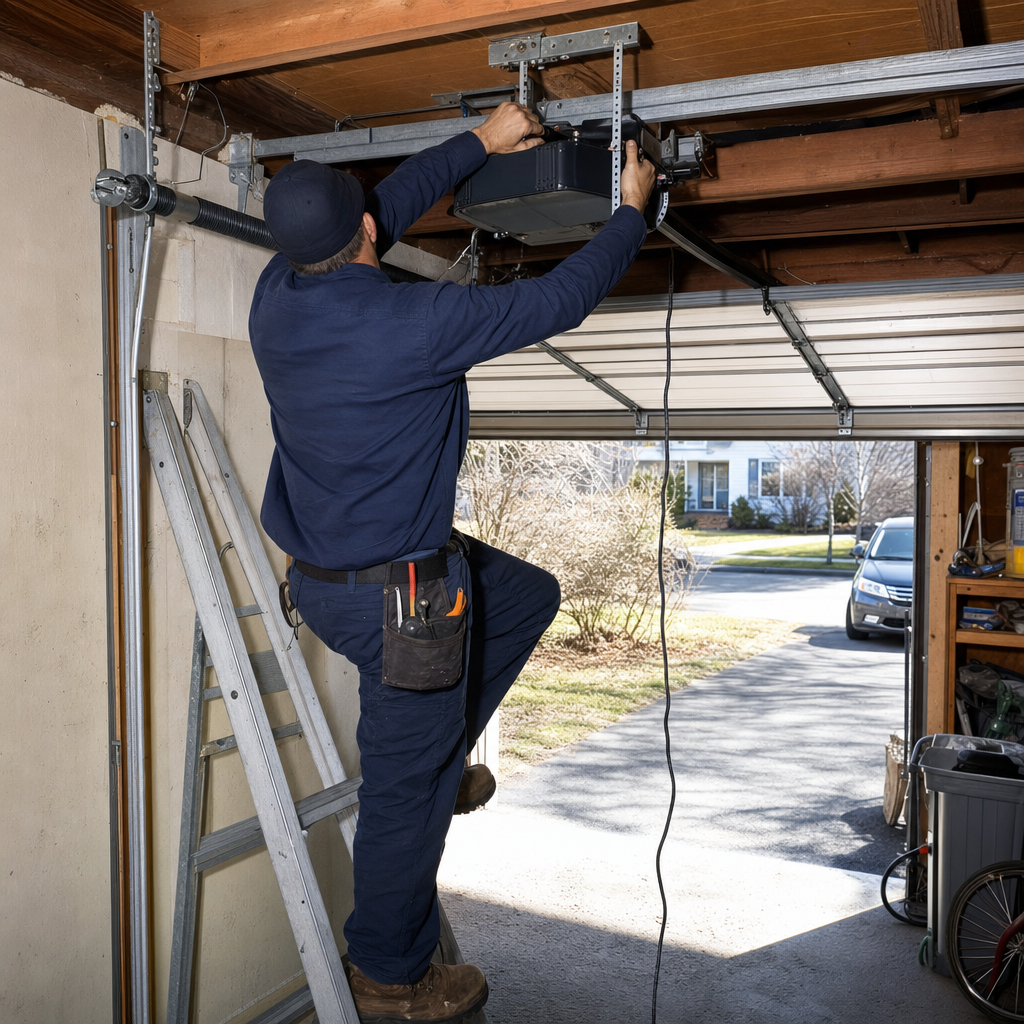
Most programming guides online are just copy-pasted manufacturer steps. They don’t tell you why your opener isn’t responding, or what to check before you start pressing buttons. After eight years of walking into Massachusetts garages where the homeowner has already spent an hour on YouTube, we’ve developed a different approach: a pre-programming checklist that prevents the three mistakes we see most often. Larry Peterson, our owner and lead technician, still handles every diagnostic call himself — home or business — and he’s the one who shows up, not a subcontractor you’ve never met.
Why Most Programming Attempts Fail Before They Start
The most common reason a garage door opener programming attempt fails isn’t that the homeowner followed the wrong steps — it’s that the opener needed a full memory clear first, and no one mentioned that. If you’ve pressed the learn button three times and nothing worked, you’re probably trying to add a remote to an opener that’s already at its memory limit.
Here’s what actually happens inside that motor unit hanging from your garage ceiling. Most openers manufactured after 1993 can store between 8 and 40 remote codes, depending on the brand and era. Over years of home sales, tenant turnover, or well-meaning neighbors borrowing remotes, that memory fills with codes for devices that left the property long ago. When you press the learn button to add a new remote, the system can’t accept it because there’s no room left.
We see this constantly in Massachusetts’s older housing stock — the triple-deckers in Worcester, the converted barns in the Pioneer Valley, the post-war capes in Framingham where the same opener has hung for fifteen years through three owners. The opener isn’t broken. It’s full.
The Memory-Clear Step Most Guides Omit
Before programming any new remote, test whether your opener’s memory needs clearing:
- Press and hold the learn button for 6–10 seconds until the LED goes out completely — this erases all stored remotes and keypads
- Now press the learn button once briefly, then press your remote button within 30 seconds
- If the opener light flashes or clicks, you’ve found the problem: it was full
- You’ll need to reprogram any working remotes and keypad entry codes you still use
Warning: this step wipes everything. If you have a keypad entry system or multiple remotes that still work, you’ll spend the next ten minutes reprogramming them all. But at least you’ll know why nothing worked before.
In homes near the coast — Gloucester, Newburyport, the South Shore — we also see corrosion on the logic board from salt air getting into the motor housing. The learn button presses fine, but the board can’t store new codes. That’s not a DIY fix, and it’s where our Garage Door Opener in Massachusetts service comes in. Larry carries replacement logic boards for LiftMaster, Chamberlain, Genie, and the other major brands, and can test on-site whether the board or just the memory was the issue.
How to Identify Your Learn Button: Brand-by-Brand Guide
Generic programming guides say “find the learn button” without explaining that the button’s color tells you everything about your system’s security generation. Pressing the wrong sequence for your button color is like using a key from the wrong decade — it won’t work, and you’ll think the opener’s dead.
Here’s what Larry looks for on the first thirty seconds of any service call:
| Brand | Learn Button Color | Security System | Remote Compatibility Notes |
|---|---|---|---|
| LiftMaster / Chamberlain (1993–2005) | Red or Orange | Security+ (fixed code) | Basic remotes work; no rolling code |
| LiftMaster / Chamberlain (2006–2011) | Purple | Security+ | Requires purple-button compatible remote |
| LiftMaster / Chamberlain (2011–present) | Yellow | Security+ 2.0 | Rolling code; older remotes won’t pair |
| Genie (1995–2011) | Red or Purple | Intellicode I | Must match Intellicode generation |
| Genie (2011–present) | Yellow or Black | Intellicode 2 | Backward compatible with Intellicode I remotes |
| Craftsman | Matches LiftMaster by era | Same as corresponding LiftMaster | Craftsman openers are rebranded Chamberlain units |
| Raynor | Green or Yellow | Security+ or Security+ 2.0 | Uses same frequency protocol as LiftMaster |
That color coding matters because of rolling-code technology. A 1990s remote won’t work on a 2015 opener even if the radio frequency matches — the security handshake has changed completely. We’ve had Massachusetts homeowners buy “universal” remotes at big-box stores in Auburn or Hadley, then call us frustrated because the package said “works with all major brands” — but finding the Best Garage Door Opener in Massachusetts, MA for your specific system takes more than a package claim. It doesn’t work with your specific security generation, and the fine print on the back of the blister pack admits it.
Larry’s trained across all eight major brands we service — LiftMaster, Chamberlain, Genie, Clopay, Amarr, Wayne Dalton, Craftsman, and Raynor — so when he walks into your garage, he knows which remote you actually need before he opens his truck. “Your brand, our expertise” isn’t a slogan; it’s why we don’t waste your time with three trips to the hardware store.
Rolling Code vs. Fixed Code: Why Your “Universal” Remote Isn’t
Here’s the plain-language explanation no manual gives you. Fixed-code openers (pre-1993, and some budget models into the late 1990s) send the same radio signal every time you press the button. Rolling-code systems generate a new code with every use, using a synchronized algorithm between remote and opener. The remote and opener both know the next code in the sequence, but a captured signal from yesterday won’t open the door tomorrow.
Security+ 2.0 (LiftMaster/Chamberlain’s current standard) and Intellicode 2 (Genie’s) are both rolling-code systems, but they speak different dialects. A remote designed for one won’t pair with the other, even if the frequency is 315 MHz or 390 MHz on both. The handshake protocol — the “conversation” that happens in the first half-second after you press the button — is brand-specific.
Before buying any replacement remote, check your opener’s manufacture date (usually on a sticker inside the light cover or on the motor housing). If it’s 2011 or newer and you have a yellow learn button, you need a Security+ 2.0 compatible remote. No exceptions. We’ve seen homeowners in Holden and Leominster waste $40 on the wrong remote, then pay our Opener Repair: $120–$320 service call anyway when the real problem was simpler than they thought.
Power Outages, Nor’easters, and Lost Programming
Massachusetts homeowners in older neighborhoods — particularly pre-1970s construction in Worcester, Lowell, and the mill towns along the Merrimack — deal with a specific problem that programming guides never address: power surges through ungrounded circuits wiping opener memory.
When a nor’easter takes out power across central Massachusetts, the restoration surge can scramble the logic board’s memory even if the opener seemed fine before the storm. We’ve responded to emergency calls in Shrewsbury and Grafton after every major winter storm, where the opener “worked fine yesterday” but won’t respond to any remote today. The board isn’t fried — the codes are just gone.
Some newer openers, particularly LiftMaster models with battery backup, store codes in non-volatile memory that survives power loss. If your opener loses programming after every outage, you have volatile memory and no battery backup. Your options:
- Install a surge protector on the opener outlet (basic protection, $30–$60 part)
- Upgrade to a battery-backup opener that stores codes permanently — our Opener Installation: $250–$550 range covers most residential units
- Keep a written record of your programming steps and relearn after each outage (tedious but free)
Larry grew up in Worcester, not far from Elm Park, and still lives within a twenty-minute drive of most of his regular customers. He’s seen enough January ice storms to know which neighborhoods lose power first, and which opener models survive them. That local knowledge doesn’t come from a manual.
When the Learn Button Doesn’t Respond at All
Here’s where we get honest about what’s fixable in an afternoon and what needs professional diagnosis. If you’ve held the learn button and gotten no LED response — no light, no blink, no change — the logic board is likely failing. This isn’t a programming problem anymore; it’s a hardware failure.
Other signs the board needs replacement:
- The opener runs but ignores all remotes and keypads
- The LED works but won’t enter learn mode
- Intermittent response — works Tuesday, dead Wednesday
- Burn marks or swelling visible on the board when you remove the motor cover
Logic board replacement runs in our Opener Repair: $120–$320 range depending on brand and whether we need to source a discontinued part. For openers over twelve years old, we often recommend comparing that repair cost against Opener Installation: $250–$550 for a new unit with current security features and warranty coverage. Larry will give you both numbers and let you decide — no pressure, no upsell script.
“Tell me what it’s doing, and I’ll tell you what it needs — no guesswork, no runaround.” That’s how we’ve earned 480 verified reviews at a 4.8 rating across Massachusetts. One call, one expert.
DIY Programming Steps That Actually Work (When the System Is Healthy)
If you’ve cleared the memory, confirmed your remote matches your security generation, and the learn button responds normally, here’s the sequence that works across all major brands:
- Clear the opener memory: hold the learn button 6–10 seconds until the LED extinguishes
- Press the learn button once — the LED should glow steadily for 30 seconds
- Within 30 seconds, press and release the button on your remote
- Wait for the opener light to flash or click twice
- Test the remote — if the door moves, programming succeeded
- Repeat for additional remotes and keypads before the 30-second window expires
For keyless entry pads: press the learn button once, then enter your desired 4-digit code on the keypad and press Enter. The light flash confirms acceptance.
If you’ve done all this correctly and the door still won’t respond, the problem isn’t programming — it’s mechanical or electrical. That’s when Larry’s hands-on training through Quinsigamond Community College’s Building Trades program matters. He learned to diagnose mechanical problems under pressure, not from a YouTube playlist, and he’s spent eight-plus years applying that foundation to every brand we service.
Key Takeaways: Before You Program, Check These Three Things
- Memory status: Clear old codes first — most openers need a fresh start after years of accumulated remotes
- Security generation match: Yellow learn button needs Security+ 2.0 remote; purple needs purple-compatible; red/orange are older fixed-code era
- Power history: If you lost power in last week’s storm, the codes may have vanished with it — check if other electronics also reset
FAQs
The memory is probably full, or the logic board has failed. Press and hold the learn button for 10 seconds to clear all stored codes, then try again — if the LED still won’t activate, the board likely needs replacement. Call (833) 754-8144 for a same-day diagnostic; estimates are free.
Opener repair in Massachusetts typically runs $120–$320, while full opener installation ranges from $250–$550 depending on horsepower, security features, and whether battery backup is included. Logic board replacement usually falls in the lower half of the repair range if the part is still manufactured. Call (833) 754-8144 for an exact quote on your specific brand and model — estimates are free.
No — “universal” remotes only work within specific security generations. A universal remote compatible with Security+ won’t work on Security+ 2.0, and Intellicode remotes won’t pair with LiftMaster systems at all. Check your learn button color and manufacture date before buying. If you’re unsure, call (833) 754-8144 and Larry will tell you exactly which remote to order.
They can, especially in older homes with ungrounded circuits or frequent voltage fluctuations during nor’easter restorations. Openers without battery backup store codes in volatile memory that clears when power drops. If your opener loses programming after every outage, a surge protector or battery-backup opener upgrade solves it permanently. Call (833) 754-8144 to discuss whether repair or replacement makes more sense for your situation.
When to Call Sequoia Garage Door Repair Massachusetts
Programming a Garage Door Opener is straightforward when the system is healthy and you know your security generation. When it’s not straightforward — when the learn button’s dead, the codes keep vanishing, or you’ve bought two wrong remotes already — that’s when an owner-operator who knows every brand saves you time and money. Larry Peterson personally handles every diagnostic call and repair for Sequoia Garage Door Repair Massachusetts, bringing eight years of single-trade expertise and the accountability of someone whose name is on the business.
If you’d rather have it looked at, Sequoia Garage Door Repair Massachusetts offers a no-pressure assessment in Massachusetts — call (833) 754-8144.
Written by Larry Peterson, Owner & Lead Technician at Sequoia Garage Door Repair Massachusetts, serving Massachusetts, MA.